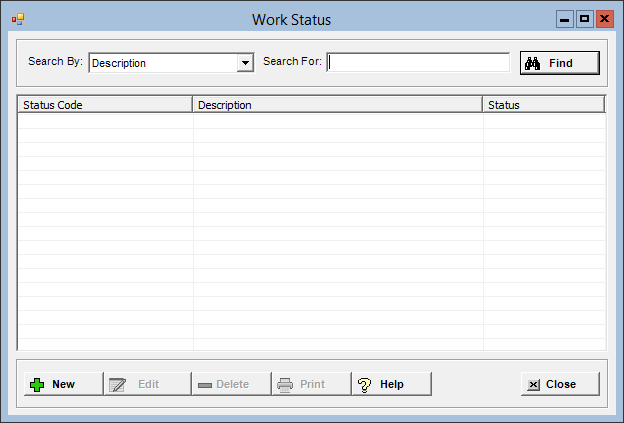
The Work Status master file allows you to set up the work status codes and descriptions that are used to group employees for reporting purposes. Examples of work statuses include part-time, full-time, temporary, PRN, etc.
To access the Work Status window, go to Payroll > Master Files > Work Status. [+]
The following tasks can be performed from this window:
To display all work statuses on file, click Find without entering any search criteria. The grid displays the work statuses by Description in alphanumeric order. You can click any column heading to sort the list based on that column. Click the column heading again to reverse the order (i.e., ascending or descending).
Change or narrow your search results by entering specific search criteria:
In the Search By field, use the drop-down list to select how you want to search the list and sort the results. Select from the following sort options: Description or Status Code.
In the Search For field, enter the specific term to search for based on the Search By field choice. Enter all or part of the term (or, if a drop-down list displays, select an option) to retrieve all records that match the criteria.
Click Find to display the search results in the grid.
Click New located at the bottom of the Work Status window. The Add Work Status window is displayed. [+]
In the Status Code field, enter a unique, three-character alphanumeric code to assign to the work status.
In the Description field, enter a full-text description of the work status name.
In the EEO-4 Status field, use the drop-down list to select the work status. Choose Full Time or Other than Full Time. This field is enabled and mandatory when the EEO-4 option is selected in the EEO Reporting field in the System Parameters.
The Active check box defaults to checked, indicating that the work status is available for use in the Centriq system. Uncheck the box to make the work status unavailable/inactive.
Click Save to save the work status and close the window, click Cancel to close window without saving.
The Edit button allows you to edit the work status field values, or change the active/inactive status of the work status.
In the Work Status window, find and select the work status that you want to edit.
Click Edit. The Edit Work Status window is displayed.
Edit the fields as needed; refer to the field descriptions from To create a work status (above).
Click Save to save your changes and close the window, or click Cancel to exit without saving.
Follow the instructions below to delete a work status from the master file if it is not in use. NOTE: You can also choose to deactivate the work status, rather than delete it, by unchecking the Active box in the edit screen.
In the Work Status window, find and select the work status that you want to delete.
Click Delete. A verification message is displayed.
Click Yes to delete the work status, or No to keep it.
Follow the instructions below to display and/or print a list of work statuses on file.
In the Work Status window, choose your search criteria and click Find to display the work statuses that you want to print. All records that are visible in the grid will be included in the report.
Click Print. The report is displayed in the Report Viewer, where you can save the list to the PC/network or print the list to an assigned printer. See To preview the report for more information on options within the viewer.