The Discharge Locations master file allows you to set up the many locations to where a patient can be discharged. The locations are secondary identifiers to the discharge status. For example, a patient with a discharge status of 02 would need a discharge location of an Acute Care Hospital, such as St. Mary's Hospital.
This master file is not utilized for the UB discharge status codes. The discharge status codes are hard coded in the system and are not editable (e.g., 01 = Discharged Home, 66 = Discharged to a CAH Hospital).
A discharge status other than 01 requires a discharge location. All destinations to where patients are discharged must have a discharge location set up in this master file.
Information captured during discharge is available on the Discharge to Facility Report within Patient Registration.
Setup considerations: When adding a discharge location to the Discharge Locations master file, also determine whether the new discharge location requires setup in other Centriq master files. Click here to view a list >> [+]
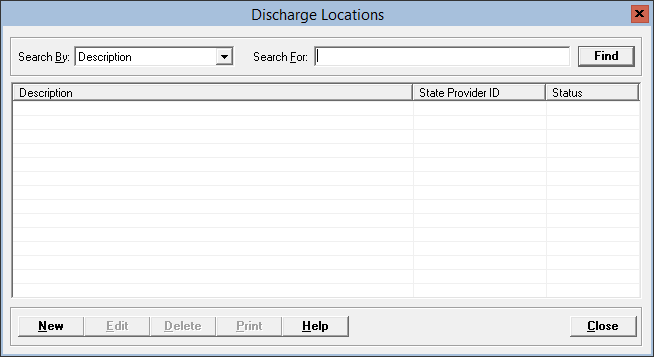
To access the Discharge Locations window, go to Patient Registration > Master Files > Discharge Locations. [+]
The following tasks can be performed from this window:
To display all discharge locations on file, click Find without entering any search criteria. The grid displays the discharge locations by Description in alphabetical order. You can click any column heading to sort the list based on that column. Click the column heading again to reverse the order (i.e., ascending or descending).
Change or narrow your search results by entering specific search criteria:
In the Search By field, use the drop-down list to select how you want to search the list and sort the results. Select from the following sort options: Description or State Provider ID.
In the Search For field, enter the specific term to search for based on the Search By field choice. Enter all or part of the term to retrieve all records that match the criteria.
Click Find to display the search results in the grid.
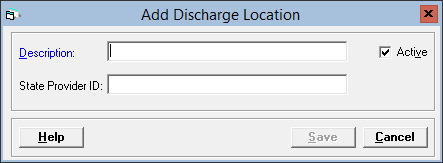
Click New at the bottom of the Discharge Locations window. The Add Discharge Location window is displayed. [+]
In the Description field, enter a description of the discharge location (up to 50 characters). It is recommended that the description include the name and location of the facility (e.g., Douglas County Hospital). HINT: If there are multiple locations for the same entity, enter the city as part of the description (e.g., St. Lukes - Minneapolis, St. Lukes - Fargo).
In the State Provider ID field, enter your provider ID if required for your state (e.g., Maryland sites).
The Active check box defaults to checked, indicating that the discharge location is available for use in the Centriq system. Uncheck the box to make the location unavailable/inactive.
Click Save to save the discharge location and close the window, or click Cancel to close the window without saving.
The Edit button allows you to edit the discharge location description or to change the active/inactive status of a discharge location.
In the Discharge Locations window, find and select the discharge location that you want to edit.
Click Edit. The Edit Discharge Location window is displayed.
Edit the fields as needed; refer to the field descriptions from To create a discharge location (above).
Click Save to save your changes and close the window, or click Cancel to exit without saving.
Follow the instructions below to delete a discharge location from the master file if it is not in use. Note: You can also choose to deactivate the discharge location, rather than delete it, by unchecking the Active box in the edit screen.
In the Discharge Locations window, find and select the discharge location that you want to delete.
Click Delete. A verification message is displayed.
Click Yes to delete the discharge location or click No to keep it.
Follow the instructions below to display and/or print a list of discharge locations on file.
In the Discharge Locations window, choose your search criteria and click Find to display the discharge locations that you want to print. All records that are visible in the grid will be included in the report.
Click Print. The report is displayed in the Report Viewer, where you can save the list to the PC/network or print the list to an assigned printer. See To preview the report for more information on options within the viewer.